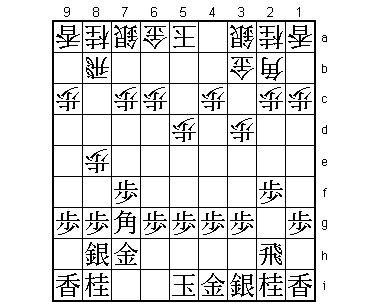
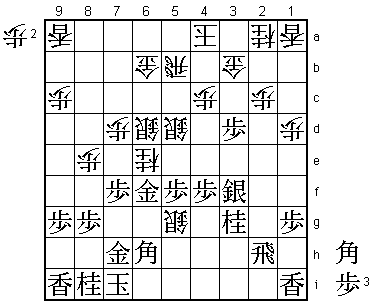
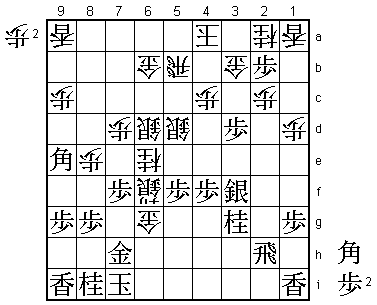
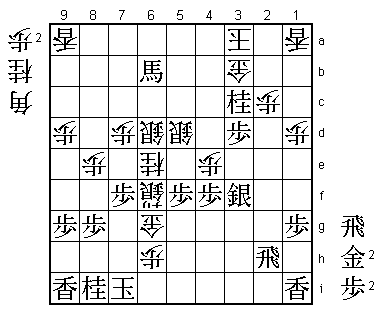
32nd Kio Match Game 3
[Black "Sato Yasumitsu, Challenger"]
[White "Moriuchi Toshiyuki, Kio"]
[Event "32nd Kio-sen, Game 3"]
[Date "March 10th 2007"]
1.P7g-7f 00:00:00 00:00:00
2.P8c-8d 00:00:00 00:00:00
3.P2g-2f 00:00:00 00:00:00
4.G4a-3b 00:00:00 00:04:00
5.G6i-7h 00:00:00 00:04:00
6.P8d-8e 00:00:00 00:04:00
7.B8h-7g 00:00:00 00:04:00
8.P3c-3d 00:00:00 00:05:00
9.S7i-8h 00:00:00 00:05:00
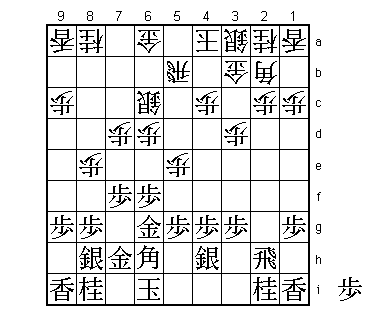
10.P5c-5d?! 00:00:00 00:05:00
Sato was aiming for a Kakugawari opening, but Moriuchi wants nothing
of it. This is not a new move, but has been played only very rarely.
The idea is to take the center, after which the shape of B7g-S8h is
not good. However, with the pawn already on 8e, Moriuchi admitted that
the balance of the white position is not good. Considering the high
winning percentage of black among professionals, he had already resigned
himself to a tough defense and chose a position from which it was easy
to strike if a chance would present itself.

11.P2f-2e    00:15:00  00:05:00
12.P5d-5e    00:15:00  00:06:00
13.P2e-2d    00:15:00  00:06:00
14.P2cx2d    00:15:00  00:06:00
15.R2hx2d    00:15:00  00:06:00
16.R8b-5b    00:15:00  00:06:00
17.K5i-6i    00:15:00  00:06:00
18.P7c-7d    00:15:00  00:09:00
19.R2d-2h    00:18:00  00:09:00
20.P*2c      00:18:00  00:09:00
21.G4i-5h    00:29:00  00:09:00
22.S7a-7b    00:29:00  00:16:00
23.S3i-4h    00:49:00  00:16:00
24.K5a-4a    00:49:00  00:37:00
25.P6g-6f    00:59:00  00:37:00
26.P6c-6d    00:59:00  00:40:00
27.G5h-6g    00:59:00  00:40:00
28.S7b-6c    00:59:00  00:40:00
29.B7g-6h    00:59:00  00:40:00
30.S3a-4b 00:59:00 01:24:00
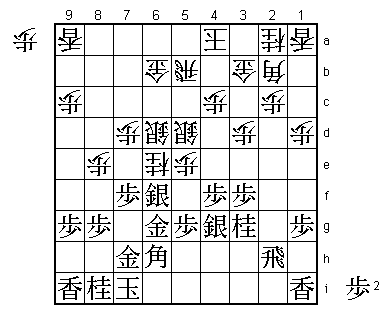
Sato had expected the quick fight with S5d followed by P6e, but Moriuchi
chooses a slower plan. Actually, Sato felt that S5d-P6e was the only
way to play this position and that the slower plan would only help him
to get the upper hand.
31.K6i-7i 01:01:00 01:24:00
32.S4b-5c 01:01:00 01:31:00
33.P4g-4f 01:19:00 01:31:00
34.S5c-5d 01:19:00 01:34:00
35.S4h-4g 01:19:00 01:34:00
36.N8a-7c 01:19:00 01:38:00
37.S8h-7g 01:51:00 01:38:00
Sato also considered N7g, but didn't like the combination of S4g and
N7g. The combination of S7g and S4g is much more natural, especially
in the eyes of the top Yagura specialist Sato was before he turned into
an opening magician.
38.P1c-1d 01:51:00 02:07:00
39.P3g-3f 02:12:00 02:07:00
40.P6d-6e 02:12:00 02:17:00
41.P6fx6e 02:14:00 02:17:00
42.N7cx6e 02:14:00 02:19:00
43.S7g-6f 02:14:00 02:19:00
44.S6c-6d 02:14:00 02:19:00
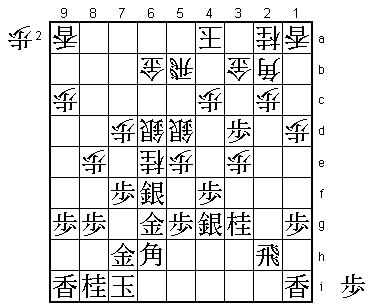
Moriuchi wasn't at all happy with how his opening experiment had turned
out. The combination of N6e and the two silvers on 6d and 6d is very
difficult to put into motion. Furthermore, the white king is poorly defended,
especially compared to the black king. White really would like to move the
rook back to 8b, but there is never time to do that.
45.N2i-3g 02:16:00 02:19:00
46.G6a-6b 02:16:00 02:23:00
47.P3f-3e    02:32:00  02:23:00

An interesting difference of opinion between the players here. Sato thought
that this was an overplay. He suggested 47.P4e as better. For example
48.G6c S4f R8b P9f P9d K8h K5b P3e Px3e P2d Px2d Rx2d P*2c R3d and black
is better. On the other hand, Moriuchi praised 47.P3e as the attack that
really made him realize he was in trouble.

48.P3dx3e    02:32:00  02:44:00
49.P*3d      02:33:00  02:44:00
This looks very strong. Moriuchi had only looked at 49.N*3d followed by
P*2b, but this is much stronger. Because black can take the knight on 6e
at any time, the threat is to play N2e or N4e, followed by Sx6e and N*3c,
which is a very strong attack. Moriuchi realizes he is with his back
against the wall and attacks.

50.P3e-3f!   02:33:00  03:16:00

This move took Sato completely by surprise. Suddenly, he was not so sure
about his position anymore.

51.S4gx3f    02:33:00  03:16:00
52.P5e-5f    02:33:00  03:16:00
53.P5gx5f    02:36:00  03:16:00
54.B2bx6f    02:36:00  03:17:00
55.G6gx6f    02:36:00  03:17:00
56.S*5g      02:36:00  03:17:00
57.B6h-9e!   03:37:00  03:17:00

Now it is Moriuchi's turn to be surprised. After the game he said that
Sato is probably the only player in the world who would have thought of
this move. Sato commented that he had planned this in advance. He thought
this move was the reason white could not exchange bishops on 6f here, but
here he wasn't so sure anymore. He intended to answer 58.Sx6f+ with 59.B*8d,
but here he realized that white can answer with 60.P9d Bx6b+ Px9e +Bx5b Kx5b
and even though the king looks pretty disposed (especially against a rook drop),
the two silvers in the center make it quite difficult to build a strong attack
against the king. Fortunately for Sato, there is an alternative.

58.S5gx6f+   03:37:00  03:28:00
59.P*2b      03:37:00  03:28:00

This is also pretty strong and invites Moriuchi's mistake.

60.G*6g?     03:37:00  03:47:00
Played after some considerable thought (19 minutes) and in the post-mortem
analysis immediately condemned as the losing move by both players. It seems
like Moriuchi thought that his chance had finally come after 59.P*2b and in
his eagerness to make full use of it, he picked the wrong move. The reasons
for this move being bad are quite simple: the white attack becomes very heavy
and the black attack becomes really dangerous with a gold in hand. The right
move was 60.N5g+ and after 61.Px2a+ to put the next piece in motion with
62.S6g+. Then 63.P*6h +Sx7h Kx7h P*6g Px6g P*6f Px6f P9d and because a bishop
in hand will create mating threats against the black king, white has a big
advantage. Or 63.P*6c Sx6c P3c+ Gx3c N4e G3d, which is unclear (Rx2c+ Gx4e
is a mating threat so bad for black). By the way, when asked what would
happen after 60.Gx2b, Moriuchi was very surprised. For him such a move was
unthinkable and he had to give it some thought why it was bad. With the gold
on 2b the king has no space to run and a simple move like B*8b should be good
enough for black. He hadn't thought about 60.Gx2b for one second.

61.P2bx2a+   03:42:00  03:47:00
62.P9c-9d    03:42:00  03:52:00
63.B9e-8d    03:44:00  03:52:00
64.G6gx7h    03:44:00  03:52:00
65.K7ix7h    03:45:00  03:52:00
66.G*6g      03:45:00  03:52:00
67.K7h-7i    03:53:00  03:52:00
68.P*6h      03:53:00  03:54:00
69.N*3c      03:56:00  03:54:00
70.K4a-4b    03:56:00  03:58:00
71.N3g-4e    03:57:00  03:58:00
72.P4c-4d    03:57:00  03:58:00
73.+P2a-3a   03:59:00  03:58:00
74.P4dx4e    03:59:00  03:59:00
75.B*3e      03:59:00  03:59:00

Sato admitted after the game that only here he felt sure of winning. The black
attack seems straightforward, but until this point Sato had not been able to
read it out through the end. However, because there is no mate against the
black king even if white gets a bishop in hand, the game is now over.

76.K4bx3a    03:59:00  03:59:00
77.B8dx6b+   03:59:00  03:59:00
78.R5bx6b    03:59:00  03:59:00
79.B3ex6b+   03:59:00  03:59:00
Resigns      03:59:00  03:59:00
No attack with the bishop and knight in hand and the simple mating threat
R*2a K4b R4a+ can't be defended. Sato holds serve by winning with the black
pieces and Moriuchi now has to do the same to avoid losing his Kio title.